
Sprint planning
On this page
Sprint planning
Group your acceptance criteria into dependency-respecting, themed sprints so your agent builds in the right order. · Optional · Pro plan
Sprint planning takes every acceptance criterion in your project, works out what depends on what, and arranges it into a sensible build order grouped into themed sprints. It's optional — an agent can pull work without it — but planning first means your agent (or you) never starts something whose prerequisites aren't built yet. It's a Pro+ feature.
Plan your sprints
Sprint planning is the Plan tab on the Development page. Open Development from the project sidebar (under Build) and select Plan; the sibling Track tab is the live board you hand off to. Sprint planning briefly had its own /sprint-planning page — that route still works, but it now redirects straight to the Plan tab, so there's one place to plan and watch.
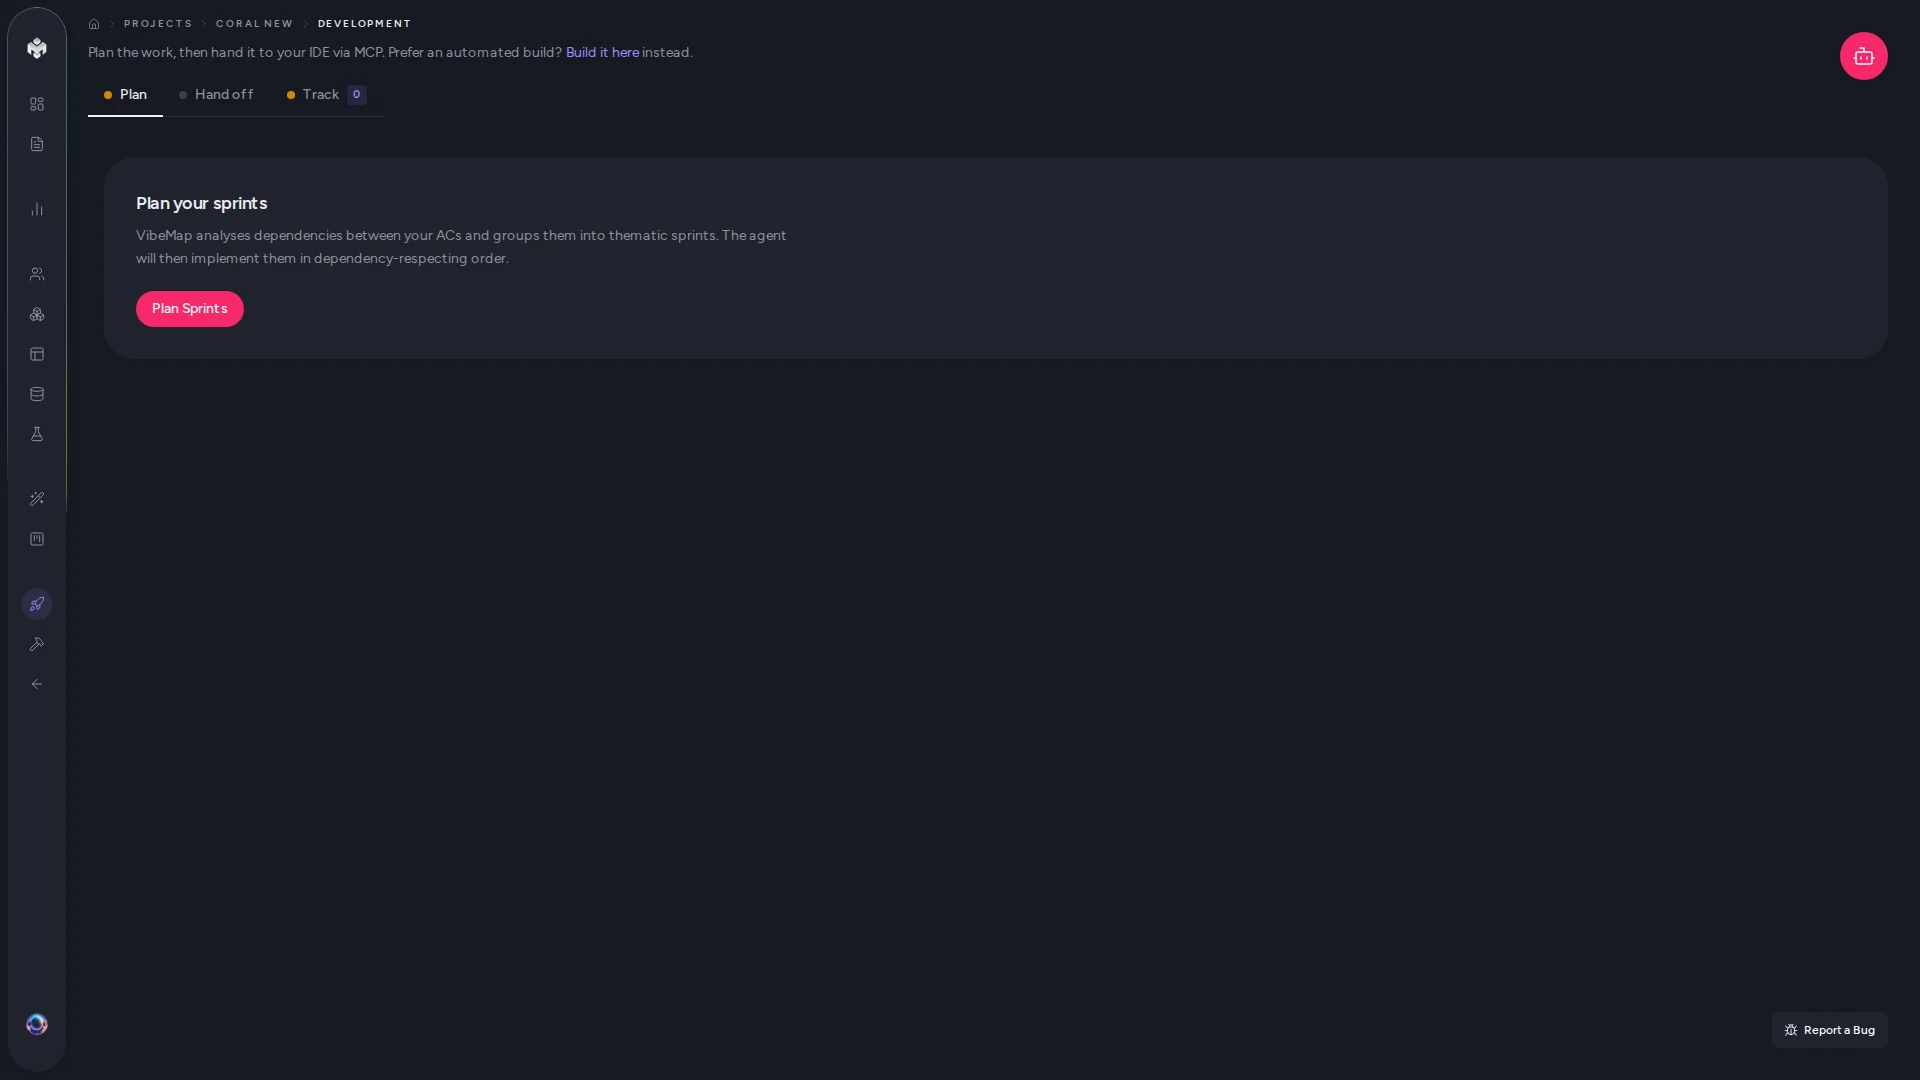 Figure: The Plan tab on the Development page, with the sprint Gantt and the sibling Track tab.
- Make sure you have features with approved acceptance criteria (the page tells you if you don't).
- Click Plan Sprints.
Behind that one click, VibeMap:
- Runs a dependency-graph analyzer over every AC's Given/When/Then to find prerequisite edges.
- Topologically sorts all ACs into a dependency-respecting order.
- Runs a feature-cohesion pass to pull stranded ACs next to the rest of their feature where dependencies allow.
- Asks an LLM to group the ordered list into themed sprints (e.g. "Auth & Sign-up", "Billing & Subscriptions").
Reading the plan
Once planning finishes you get two things:
- A sprint Gantt at the top — features down the side, sprints across the top, so you can see how work spreads. The totals row shows the passed/total AC count, which updates live as work completes.
- Sprint sections below, one per sprint, with acceptance criteria grouped under their user story. Each AC row shows its scenario type (happy path / edge case / error), its status, and a dependency badge.
Click a dependency badge to open the dependency side sheet — it shows exactly what an AC needs before it can start, and what it unblocks.
💡 Tip: A feature with idle middle sprints lights up amber/rose on the Gantt. That's a hint that some dependency edges may be marked "hard" when they could be "soft" — a candidate for re-analysis.
Re-planning
Two buttons sit above the plan:
- Re-plan — re-runs the whole pipeline (dependency analysis + sprint grouping) with a fresh LLM call. Use it after you add or change features. Previously-passed work stays passed.
- Re-analyze deps — refreshes just the dependency graph without redoing sprint allocation. Use it when an expected prerequisite edge is missing.
⚠️ Watch out: If planning returns more sprints than your project needs, some may come back empty. VibeMap drops empties automatically; if a few slip through, click Re-plan. A smaller number of sprints is usually the correct answer, not a bug.
⚡ Power-user hints
- Sprints gate the agent's queue. With a plan in place, your agent only pulls work from the active sprint until it's complete — useful for a per-sprint deploy-and-smoke-test cadence.
- Deploy on sprint boundaries. Treat each completed sprint as a checkpoint: preview, test, then let the next sprint's ACs become claimable.
- Fragmentation is a signal, not noise. A feature scattered across many sprints usually means over-eager hard dependencies upstream — start with Re-analyze deps.
↔ The traditional way
A delivery lead reads the whole backlog, mentally maps which tickets block which, sequences them in a spreadsheet, and files them into Jira sprints — then re-does most of it every time scope changes. VibeMap derives the dependency graph from your acceptance criteria and produces a dependency-respecting sprint plan in one click, and re-plans in one more.
What's next
- Watch the work happen → 11.3 Watching progress
- Hand off to your coding agent → 11.1 Handoff overview
- Day-to-day kanban workflow → Kanban tracker (developer docs)