10.2 — Managing your team
On this page
10.2 — Managing your team
Everything an owner or admin does to set up and run a team workspace.
Creating a team
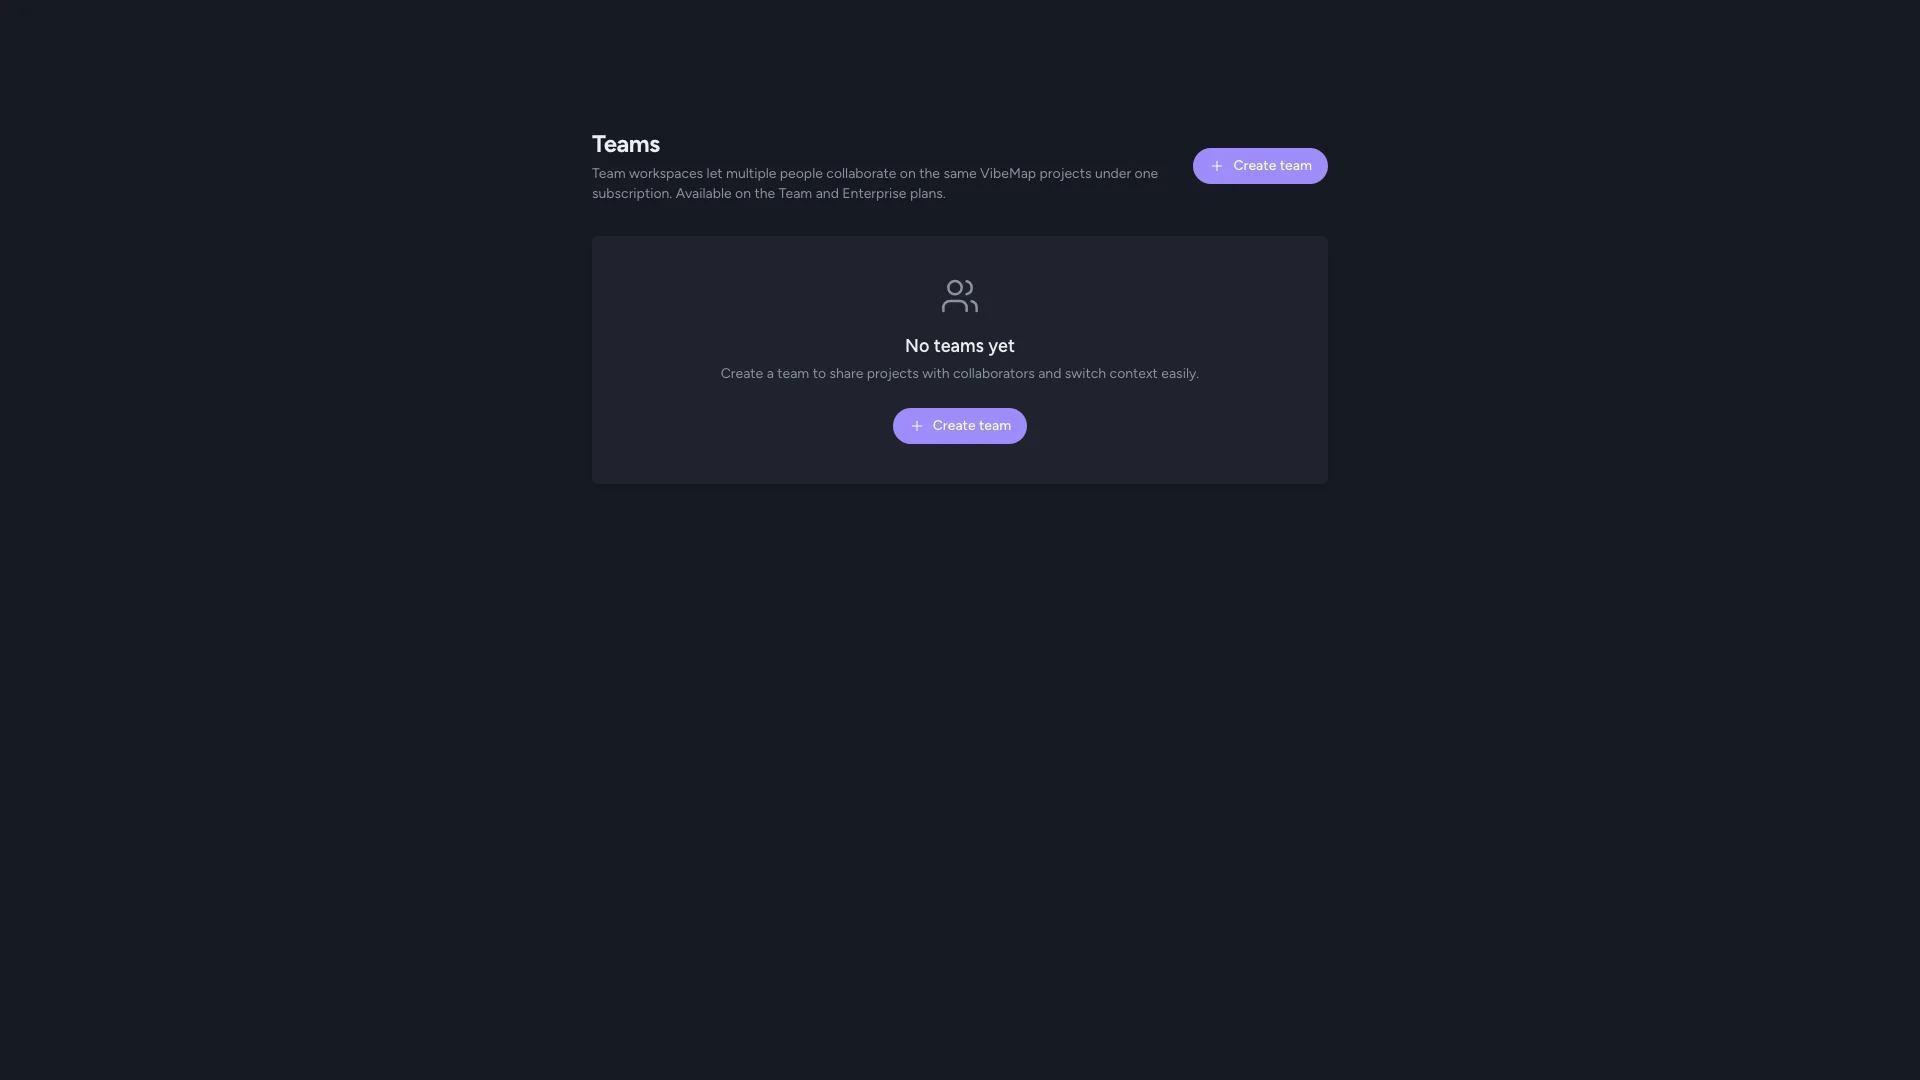
- Click your profile avatar in the top-right corner.
- Select Teams from the dropdown.
- Click Create team.
- Give the team a name (e.g. "Acme Inc." or "Mobile app crew") and click Create team.
You become the team's first owner. Your account is added as the first member with the owner role. The team gets a URL-safe slug (e.g. "acme-inc") that appears in /team/<slug>/... URLs.
You can rename a team later in Team settings → Name. The slug stays the same — only the display name changes.
Starting your team subscription
A freshly-created team has no active subscription, which means it can't actually use any token budget or open team-only features. Start the subscription before inviting people:
- From Team settings, find the Billing card.
- Click Start subscription.
- You'll be redirected to Stripe Checkout — enter your card and complete the checkout.
- You'll bounce back to the team settings page with the subscription active.
Stripe handles all payment data; VibeMap never sees the card number.
What gets billed
- The Team plan is a flat $79/month charged to the team owner's card via Stripe.
- The Enterprise plan is $199/month and is currently arranged via sales — contact support@vibemap.ai if you want to upgrade a team to Enterprise.
- You can use promo codes at checkout — only one promo per subscription; codes cannot be stacked.
- Cancel anytime from the Stripe customer portal; the team retains access until the end of the billing period.
Inviting members
Once your subscription is active, invite teammates:
- Open Team settings for the team.
- In the Invite members card, enter the teammate's email.
- Pick their role (Admin or Member — see 10.1 for the difference).
- Click Send invite.
The invitee gets an email with a one-click "Accept invitation" button. The link is valid for 7 days. If they don't accept in time, just invite them again.
You can invite people who don't have a VibeMap account yet. When they click the link, they'll be prompted to sign up first; the team membership is granted automatically after signup.
What invitees see
When they click the accept link, the invitee gets a confirmation page asking them to confirm they want to join. After accepting, they're redirected to the team's settings page where they can see the other members.
Detail on the invitee experience is in 10.3 — Joining a team.
Tracking pending invitations
The Pending invitations card on team settings shows every invite that hasn't yet been accepted or expired. You can:
- See which email each invite went to and when it expires
- Revoke an invitation — useful if you sent it to the wrong email or the person no longer needs access. Revoked links stop working immediately, even before they expire.
- Re-invite by sending a new invitation to the same email.
Managing existing members
The Members card on team settings lists every active member of the team. Owners and admins can:
Change a member's role
Use the role dropdown next to a member's name to switch between Admin and Member. Changes take effect immediately. The owner role is reserved — to make someone else the owner, use Transfer ownership (see below).
Remove a member
Click Remove next to a non-owner member. They lose access to all team projects immediately. Their VibeMap account itself is not affected — their personal projects stay intact.
You cannot remove yourself this way. To leave the team you're in, use the Leave button next to your own name. Owners cannot leave their team; they must transfer ownership to another member first.
Transferring ownership
Only the current owner can transfer ownership.
- Open Team settings.
- (Coming soon — for now this is handled by support: email support@vibemap.ai with the new owner's email and the team name.)
After transfer, the previous owner becomes an admin and can still manage members, but the new owner is the one whose card is on file for billing.
Deleting a team
Only the owner can delete a team. Deleting a team:
- Cancels the team's Stripe subscription on the next billing event
- Removes all team members
- Permanently deletes every project the team owns (irreversible — there is no undo)
- Personal projects that any member created on their own account are unaffected
Because this is irreversible, treat it as a last resort. If you only want to stop billing, cancel the subscription via the Stripe portal — the team and its projects stay around as read-only.
Billing
Where billing lives
Team subscriptions are billed separately from any personal VibeMap subscription you have. The team's payment method, invoice history, and billing portal are all distinct from your personal Account → Billing page. You see your personal subscription on the regular billing page and the team subscription on the team settings page.
Who can change billing
Only the team owner and admins can change billing. Members see the Billing card but cannot start, modify, or cancel the subscription.
Budget enforcement
Token consumption from team projects counts against the team's monthly budget, not the individual member's personal budget. If the team budget is exhausted, every member is blocked from running new generations on team projects until the next billing period.
Each member can still use their personal subscription's budget on their personal projects independently.
Invoices
Stripe sends invoices to the email associated with the payment method. You can access full invoice history (and download PDFs) via the Stripe customer portal — accessible from the Billing card on team settings.
Switching workspace context
To work in your team workspace, navigate to /team and select the team you want to open. From there you'll see the team's projects and can create new ones owned by the team.
To return to your personal projects, navigate to /home (or click the VibeMap logo in the top-left).
Today the workspace context is implicit — you set it by where you navigate. A dedicated workspace switcher in the global navigation is coming in a follow-up release.